Field guide / 02 / Rolling workbenches
Build Your Rolling Bench
Design the bench as a working system: a surface that suits the task, a frame that resists movement, and wheels that get it to a safe parking position.
Start with the stationary job
Before choosing casters, decide what happens when the bench stops. Light assembly, hand-planing and supporting a benchtop machine produce different forces. Repeated sideways pressure needs more than a brake that prevents a wheel from rotating. The frame, support footprint and parking method must resist the intended operation together.
Mock up the finished working height with the complete stack in mind: floor support, caster assembly, frame and top. Your preferred height for fine assembly may be uncomfortable for forceful hand work. Test the posture with scrap material rather than copying a familiar dimension without checking it.
Keep the footprint proportionate to the top. Large unsupported overhangs invite tipping when someone leans or clamps near an edge. Do not use the bench as a step or seat. If a mounted tool creates significant vibration or overturning force, follow its installation requirements instead of assuming a generic rolling base will be suitable.
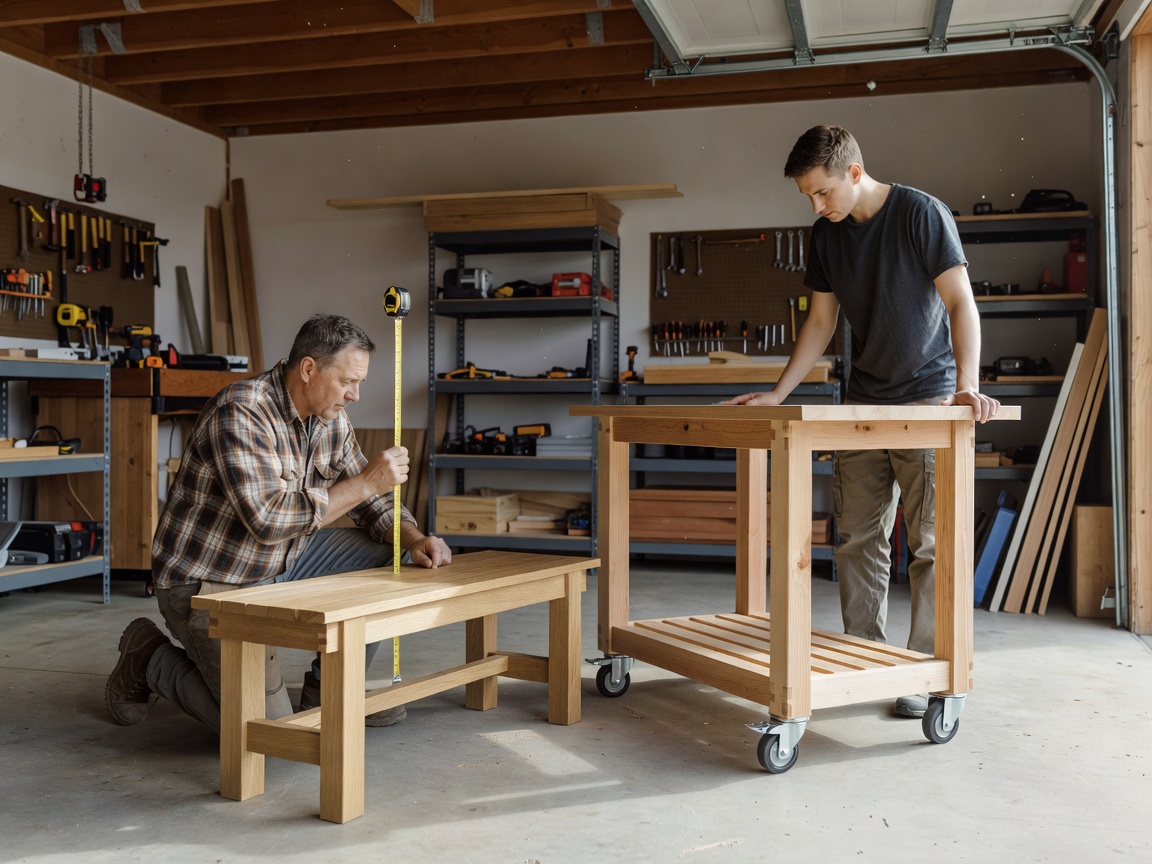
Make the frame resist racking
A top can feel solid while the structure underneath twists. Choose a frame system that resists racking in both directions, using suitable joinery, bracing or securely attached structural panels. A loose lower shelf is storage, not automatically a brace. Its contribution depends on how it connects to the frame.
Follow the load path from the top to the floor. Mount caster plates to members sized and connected for the load, not to an unsupported corner of thin sheet material. Fastener type, embedment, edge distance and material condition are build-specific decisions. Use hardware manufacturers’ instructions and obtain qualified advice where capacity is uncertain.
Keep heavy stored items low and secure them against movement. Low storage can improve the center of gravity, but it does not compensate for a narrow base, weak joints or excessive total weight. Include the bench itself, stored tools, mounted equipment and the heaviest intended workpiece when assessing the complete system.
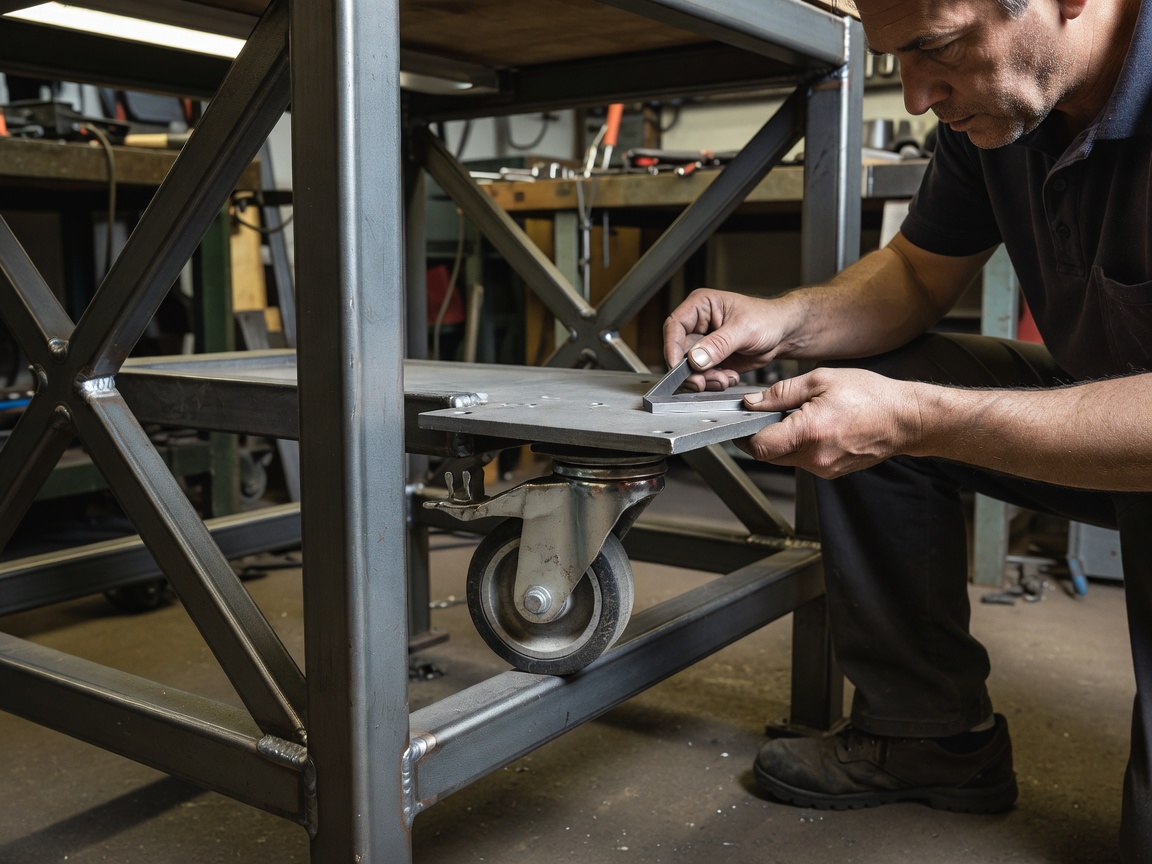
Choose casters for the route
Wheel diameter, tread material, bearing type and brake design all affect movement. Larger wheels often cross small floor irregularities more readily, but they also raise the bench. Soft tread can reduce noise while increasing rolling resistance under some loads. Check floor compatibility and the manufacturer’s operating conditions.
Do not assume four caster ratings can simply be added to establish a safe bench capacity. Uneven floors can leave fewer wheels carrying most of the load, and movement introduces additional forces. Ask the supplier how to size the assembly for your floor, speed and loading conditions.
| Arrangement | Useful characteristic | Check before choosing |
|---|---|---|
| Two fixed, two swivel | Predictable straight tracking | Turning sweep and handle position |
| Four swivel | Sideways positioning in tight spaces | Directional control and access to locks |
| Total-lock casters | Lock wheel rotation and swivel when specified | Actual lock mechanism; not a substitute for structural stability |
| Retractable mobility system | Can park the bench on stationary supports | Rated capacity, lift sequence and pinch points |
Assemble, inspect, then trial
- Frame and topUse material appropriate to your design, with accessible connections for inspection.
- Mobility hardwareRecord model numbers, mounting instructions and the supplier’s capacity assumptions.
- Parking supportDecide whether the job needs suitable stationary feet or another purpose-designed support system.
- Build the frame square
Check alignment and bracing before the top hides the joints.
- Fit the mounting structure
Install the specified fasteners and leave brake controls reachable.
- Inspect and roll unloaded
Check swivel clearance, turning behavior and the planned route without a workpiece aboard.
- Trial within the design limits
Add intended loads gradually, check support and stop if joints move, wheels bind or stability changes.
Do not “proof test” by overloading the bench. A successful short trial is not a capacity certification. Inspect fasteners, tread, brakes and frame joints regularly, particularly after crossing a threshold or moving a heavy load.
Next: bring the tools along →